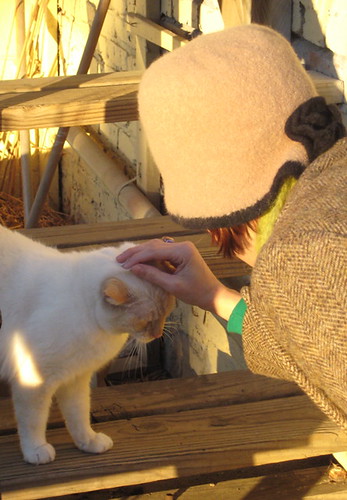
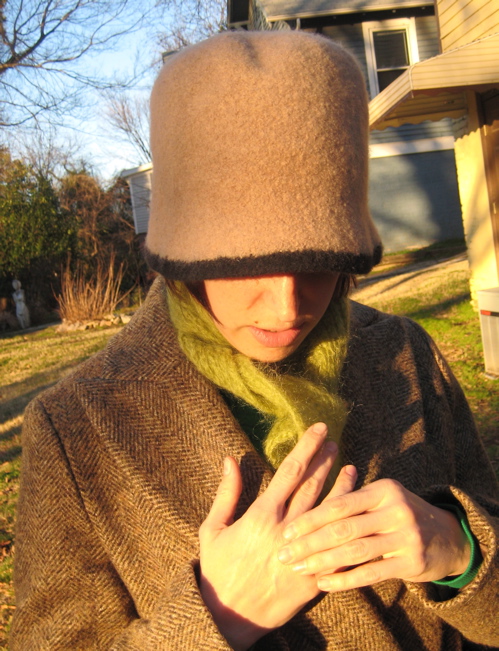
For her birthday this year, my sister requested a 1920's-style cloche hat to go with her sassy flapper haircut. I was more than happy to oblige! I love the fashions of the 1920's, especially the hats, and have always wanted to make one. After searching in vain for just the right pattern, I decided to just design one myself. I named it after one of my favorite female icons of the era, the poet
Edna St. Vincent Millay.
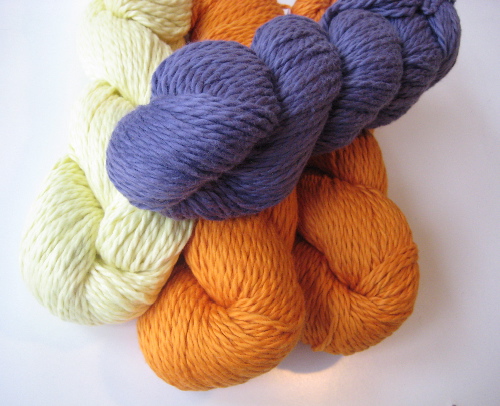
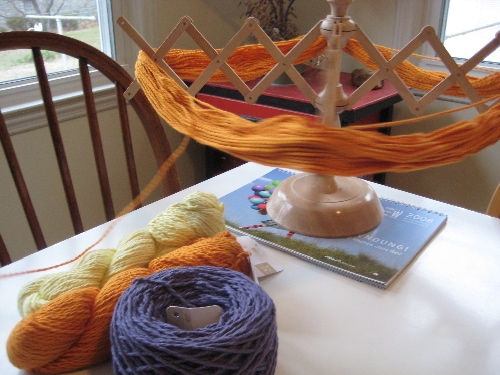
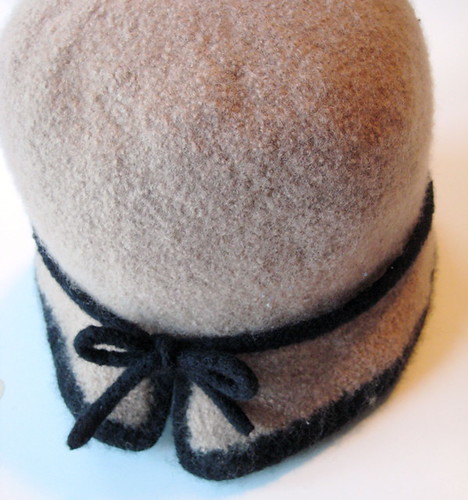
This hat is knitted with a plied 100% merino wool for a very smooth, soft finish and uniform felting. Substitute other yarns with care.
[EDITED 10/15/08 with one correction]size: women's one size (the hat is knitted in one size - giant - and felted until it fits the wearer snugly).
gauge (before felting): 9 stitches and 12 rows/2 inches
materials:- 3 skeins Knit Picks Merino Style (123 yd/50g), Color #23460, Nutmeg (color A)
- 1 skein Knit Picks Merino Style (123 yd/50g), Color #23456, Coal (color B)
- 16" circular needle, size US 8 (5.0 mm)
- DPNs, size US 8 (5.0 mm)
- stitch markers in 2 colors
- tapestry needle
- pin back
- sewing needle & thread in matching colors
note on materials: You will only use a tiny little bit of skein #3 in color A. Please don't hate me. You can use the rest to make a felted
cell phone cozy or something.
note on method: You will begin by working this hat flat on the circular needle. It will be joined later to knit in the round.
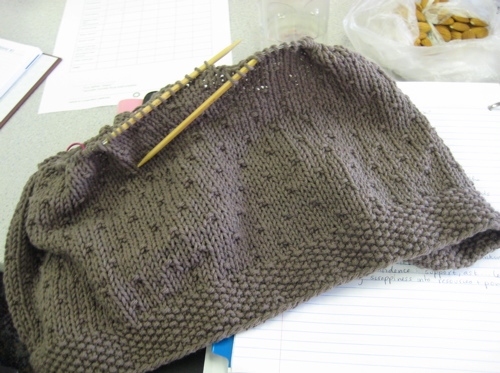
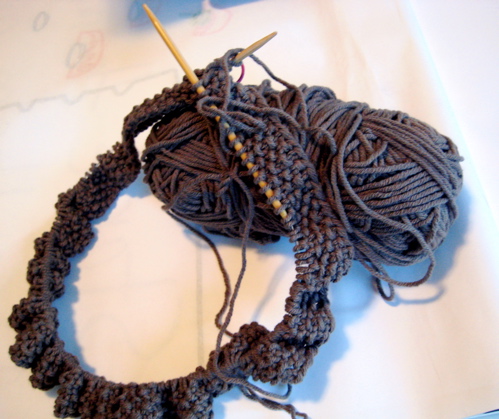
 begin with the contrast brim
Using color B, CO 130 st.
Work 5 rows flat in reverse st st (K odd rows, P even rows).
Row 6: Change to color A. K to end.
Row 7: *(K1, P1). Rep from * to end. (This row stops the brim from further rolling)
Rows 8-13: Cont in st st (K even rows, P odd rows)
Row 14 (dec row): K10, K2tog, K to last 12 st, SSK, K10 (2 st dec).
Row 15: Purl.
Dec 2 st on every RS row in this manner until 10 st have been dec (120 st rem). Purl all even rows.
join the slit & knit in the roundNext RS row: K10, K2tog, K to last 12 st, SSK, K to end. CO 2 st using the backwards loop method, place marker, and join to knit in round (120 st rem).
You will knit this hat in the round from here onwards. Cont knitting in st st until hat measures 11.5 inches from the brim.
crownNext row: *(K10, place marker). Rep from * to end. You will have placed 11 markers, evenly spaced throughout the hat, for a total of 12 markers -- make sure that they are a different color from the marker that you used to mark the start of the rounds.
Next row (dec row): *(K2tog, K to next M, slip M). Rep from * to end. 12 st dec (108 st rem).
Next row: Knit.
Cont in this manner, dec 12 st on every other row, until 12 st rem. Remove all M.
Next dec row: K2 tog to end (6 st rem).
Cut a 6-inch tail of yarn, thread through rem st and pull snug. Bring tail through to inside of hat, knot securely and weave in end.
contrast edging on slitWith RS facing and using color B, pick up and knit 17 st up the left selvedge, pick up and knit the 2 cast on st, and then pick up 17 st down the right selvedge.
Row 1 (WS): P16, P2tog, P2tog, P16.
Row 2 (RS): K15, K2tog, SSK, K15.
Row 3 (WS): P14, P2tog, P2tog, P14.
Row 4 (RS): BO 13 st, cont to BO as you K2tog, SSK, BO to end.
Weave in and trim all ends.
hat band (optional)Using color B and DPN's, CO 4 st.
Knit an I-cord about 40 inches long.
Tie off, trim ends.
flower (optional)Using color B and circular needle, CO 20 st.
Row 1 and all odd rows: Purl
Row 2: Kfb every stitch (40 st)
Row 4: Kfb every stitch (80 st)
Row 6: Kfb every stitch (160 st)
Row 7: BO, leaving an 8-inch tail.
Coil the work into a rosette. Using the yarn tail and a tapestry needle, sew into place. Weave in ends.
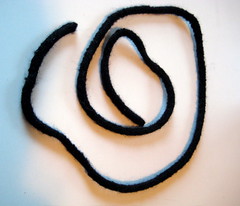
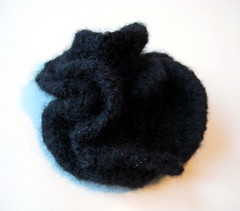 hat band; rosette -- um, not to scalefelting
(Find basic felting instructions
here)
Place the hat band and rosette into a zippered garment bag, and place the hat into a separate pillowcase and tie shut. Felt (along with additional items for agitation) for one or two ten-minute cycles in your washer. Check all the items to see how they are progressing. You will probably want to remove the hat band and flower after the first or second cycle. The hat may need additional cycles until it fits snugly.
Try the hat on after each cycle until it reaches desired snugness. While wearing hat, smooth the crown completely. Tug and stretch the brim until the whole hat is nicely shaped with a smooth crown and flared brim. Stuff with plastic bags and place over a vase or other item to dry in shape.
Tug, stretch and smooth the rosette and hat band into shape and allow to dry.
 drying on top of a vasefinishing
Once all the items are completely dry, it's time to trim your hat. Sew a pinback onto the rosette. Pin onto hat if desired.
Put on your hat, and then tie the hat band into place. You may tie a bow, overhand knot, or other decorative knot as desired. Sew or gently needle-felt the hat band into place if desired -- but please remove your hat first to avoid injury. Ouch!
Put on your sack dress and fishnets, and have a great time dancing at the local speakeasy in your new hat!
 important notice: This is a free pattern and you are welcome to use it for all the non-commercial purposes you like. However, you may not reproduce this pattern to sell, and you may not sell what you make with it. You may donate what you make with it to charity, and you may use it for charity fundraisers only if 100% of the proceeds are donated to the charity (and by charity I don't mean your kid's college fund). Thanks for understanding!