I get lots of emails and comments from knitters asking me to please add size X to a particular pattern so that they can knit one to fit their grandson / neighbor's child / oversized dog / My Buddy doll. I may or may not agree that the design in question will work well for the size requested, but here's the thing... you don't have to listen to me! And also, who wants to wait around on a free pattern designer with a day job and little kids to get around to it anyway? You can do it yourself!
Learning how to size a pattern to fit the intended wearer is a really important skill for any knitter. You may be someone who falls somewhere in between the American Craft Yarn Council's idea of what a Medium and a Large are, but you still want your sweater to fit like it was made for you! You may have a baby who wears a size 4T. You may have a middle-schooler who's still in toddler sizes. That doesn't mean that they can't have garments that fit well.
For those of us who knit in the round, the oracle to consult is Barbara Walker's Knitting from the Top (For garments knit flat, the lovely knitter's reference book Stitch & Bitch Nation by Debbie Stoller has a great guide to customizing patterns to fit you better). But here's a basic how-to guide that will help you size any of my top-down sweater patterns to fit your intended wearer.
Step One: Measure the Wearer
This is such a bummer, right?!? Because you wanted the sweater to be a surprise. You wanted it to be something they never expected. Well, you can't make it a surprise and make it fit well. You have to pick one. And they will be surprised by the finished product, anyway - they will never have expected something so awesome. So here are the three basic measurements you will need:
1. The chest circumference. This is the most important! Every sweater size is based on this measurement. Get the person's torso naked (or just lightly clothed) and take an accurate measurement around the widest part of the chest. How loose do you want the sweater to fit? Most sizing guides assume 2 inches of ease, but if you want the Marilyn Monroe look, by all means don't add any ease.
2. The sleeve length. Measure from the person's armpit to their wrist. Or if you want short sleeves or 3/4 sleeves, measure to the point where you want the sleeve to end.
3. The back length. Measure from the neckline to the point at which you want the sweater to end. Is this a cropped sweater that just makes it to the waist? A tunic that lands mid-thigh? Find out how long that really is on the person who's going to be wearing it.
Get super advanced pointers on how to measure accurately from the American Craft Yarn Council.
OK, so now you have your measurements!
Step Two: Adjust the sweater's circumference
Warning: This is the part with a lot of paying attention and math and stuff.
Okay now, before you even go knitting, for heaven's sake knit a swatch and make sure your gauge is correct. I can't say this emphatically enough: Get the right gauge. Get the right gauge. Get the right gauge. If you haven't learned this the hard way yet, with much wailing and gnashing of teeth, please let me save you from such a hideous fate, and just knit a swatch to check your gauge.
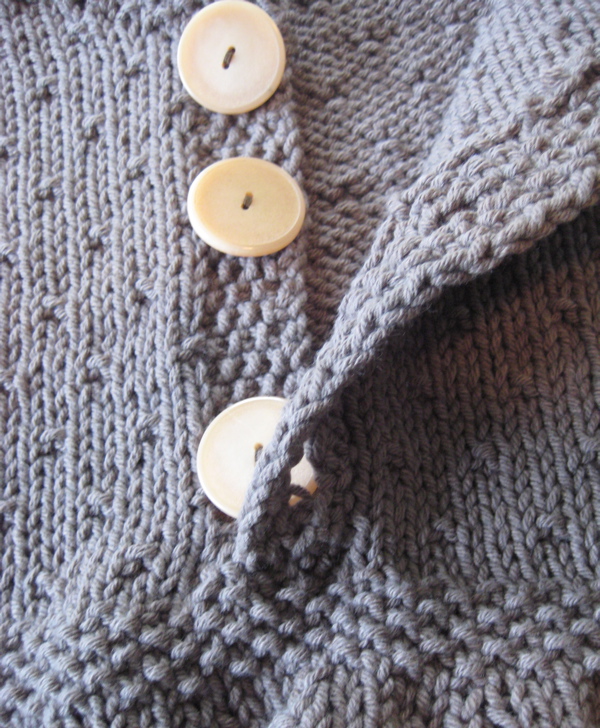
So you've got gauge and you've cast on all the stitches starting at the neckline, and you're working your way down towards the chest, increasing on every other row as instructed. You're going to come to a really important point in the early development of this sweater, the point at which you divide for the sleeves. It looks like this:
Before you go separating out those sleeves, it's time for a little math. Very basic math, don't worry. But get a calculator out anyway.
Count up all the stitches in the front and back sections of the sweater (that's all the stitches on your needle, minus the two sleeve sections). Now you have a number of stitches. Let's just say it's 100. Now there are a few other stitches you need to think about.
- How many stitches will be added on at each underarm when the sleeve sections are separated out? You need to add those in as well. Let's say there are 5 on each side. So now we have 110 stitches.
- And finally, will we be adding on any extra stitches in the front center? Say, for a button band? You may need to read to the end of the pattern to figure this one out. If so, add those in too. Important math note: If it's a button band, that probably means that you're going to be picking up selvedge stitches and knitting the band perpendicular to the direction of the sweater body stitches. If that's the case, don't add in the total number of button band rows. Add 3/4 of them. Let's say you'll be adding on a button band later, and that it's 8 rows wide. 3/4 of 8 is 6 stitches. So our grand total is 100 + 5 + 5 + 6 = 116.
Are you confused yet? This really is the hardest part, I promise.
Here's where your all-important gauge comes in. Just for the sake of this exercise, let's say we're knitting a sweater with a stitch gauge of 4 stitches to the inch. Divide your total 116 stitches by the gauge, 4 stitches/inch, and you get 29 inches. Is 29 inches the chest circumference you need? No?? Well, now here's where we do the adapting.
Let's say you need a chest circumference of 31 inches. That means you need to hit the pause button on dividing for those sleeves, and keep on knitting and increasing until you have enough stitches to get you to a 31-inch chest circumference. Just how many stitches is that? Well...
31 inches x 4 stitches to the inch = 124 stitches. From 124, subtract HALF of the underarm stitches, and then divide by two. 124 - 5 = 119 stitches. Now divide your answer by two = 59.5. SHAZAM! You will need 59.5 stitches in the back section. Well, okay let's call it 60. So keep on increasing until you have 60 stitches in the back section. Then divide for the sleeves as directed. Yawn, that wasn't so hard, was it?
WAIT A SECOND! What if I get an odd number, and I have an even number of stitches in the back section! What will I do????
Don't worry about it. Just increase to the next round number and call it close enough.
Step 3: Make the sweater body long enough for the wearer.
Nuf said.
Step 4: Make the sleeves long enough for the wearer.
Also self-explanatory.
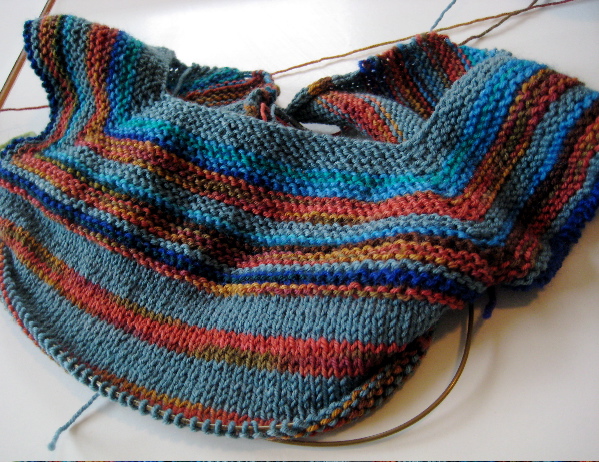
 |
| This Lopi sweater fits me nicely thanks to my handy-dandy calculator! |
So if I've posted a pattern and you don't see the size you want, you could wait around for me while I finish cleaning up from dinner, checking email and packing the kids' lunches for tomorrow, or you could just size it up yourself! Once you know how to do this, you'll be amazed at how you stop having to abide by the limits of the knitting patterns you like.